Add any HTML element into a custom snippet library and reuse it on the same page, on other pages and even in other projects.
NotePinegrow PRO also lets you create auto-updatable smart components with editable areas.
Snippets are listed in the Library panel.
Creating a HTML snippet
To create a snippet just select the element on the page, click open the element context menu and then “Add as HTML snippet”.

Another way to add a snippet to an existing library is to click on library’ name in the Library panel and choose Add as HTML snippet. Selected element will be added to the library.
This will create a new library in the Library panel and add the first snippet.


Inserting snippets to the page
Drag components to the page just as you would drag any other element from the Library panel.
Right-click on the snippet in the Library panel to rename it, delete it or update it with the content of the currently selected element.

Saving the snippet library
If you want to keep the library you have to save it. Click on the library name to do that.

Activating snippet libraries
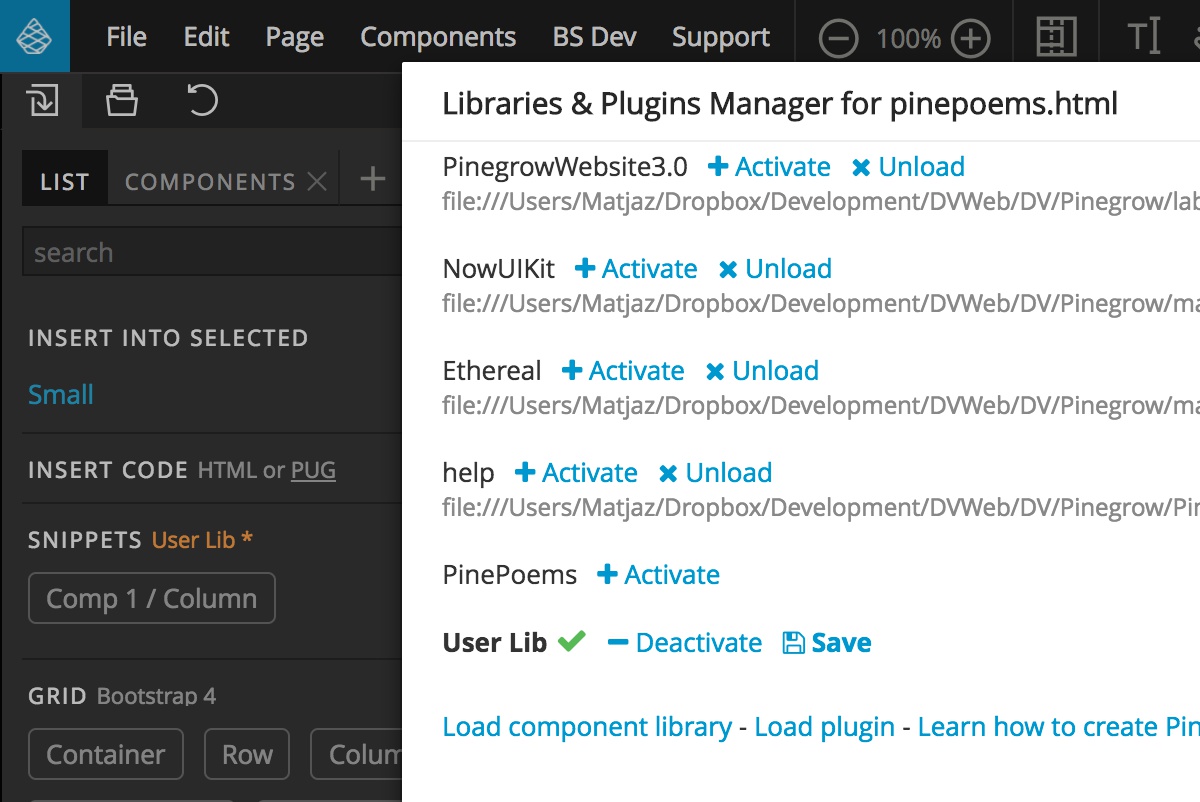
Use “Manage libraries & plugins” (in File and Page menu) to select which libraries are active for the selected page. Pinegrow remembers the settings.

Once you created a library you can use it on any page you want. Just go to “Manage libraries & plugins” for that page and activate the library.
NoteUse “Load plugin” if you need to load the snippet library. Don’t use “Load library”, that refers to Pinegrow PRO smart component libraries.
Behind the scenes
Libraries are saved as Javascript files that are loaded as Pinegrow plugins. That means that you can edit libraries as you would any other Javascrip file (but be careful, at the moment only components, their names and codes can be edited – other stuff will get overwritten when you save a library from Pinegrow).