Building the layout
With Pinegrow's powerful tools for adding, editing, cloning and removing HTML elements you can quickly build the layout of your webpage.
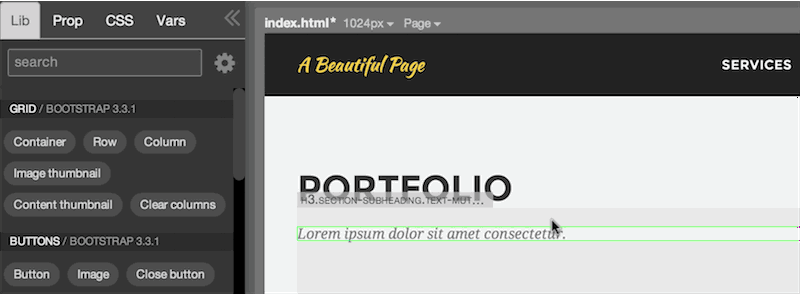
The Library panel
The Lib panel contains elements that you can add to the page.
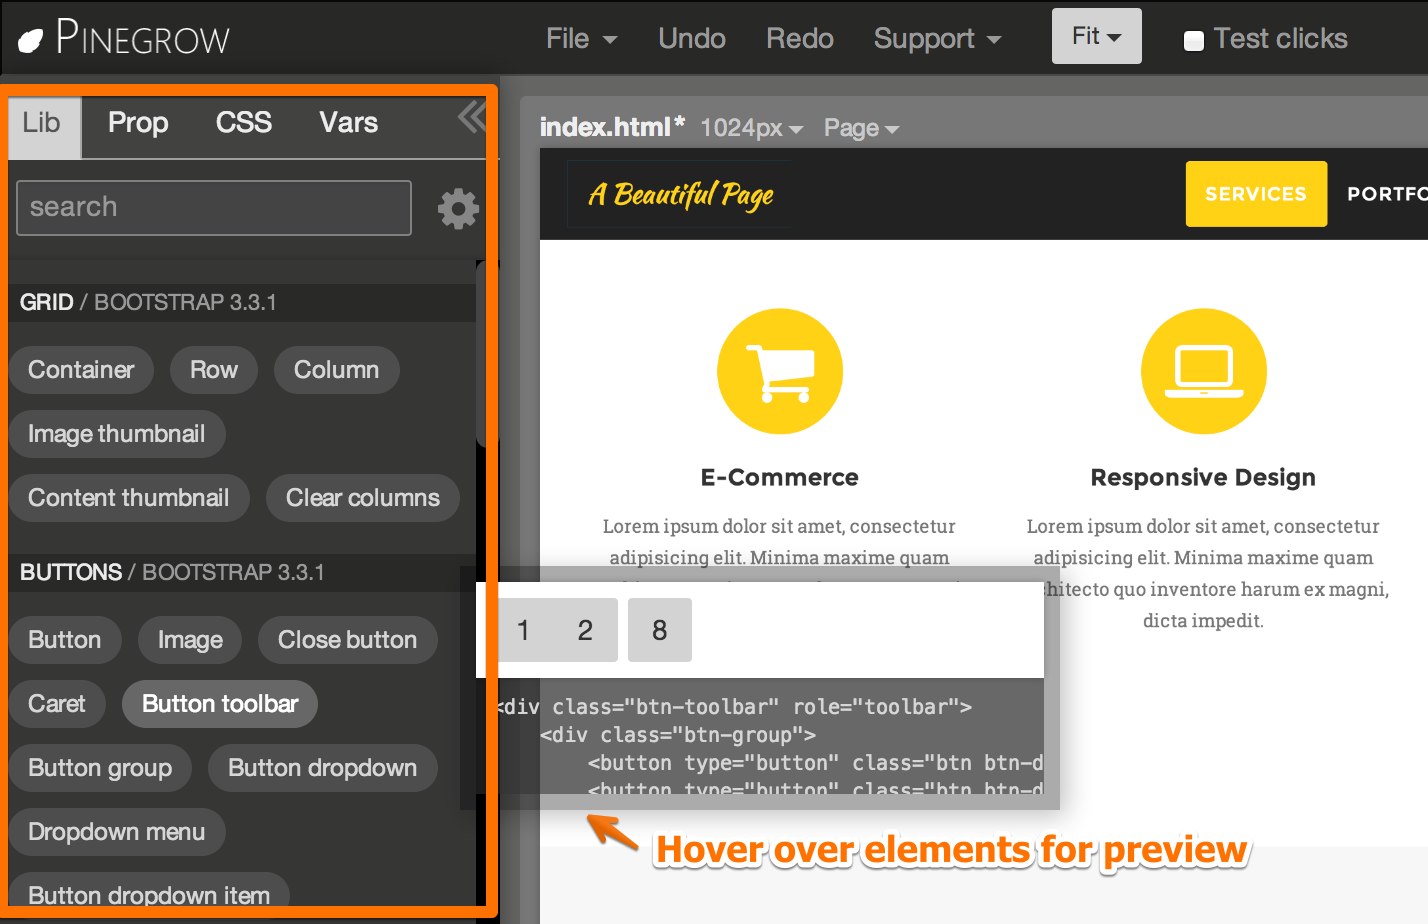
The actual list of elements in the Lib panel depends on which Pinegrow plugins are activated for the page. For example, Pinegrow plugin for Bootstrap adds Bootstrap components to the Lib panel. All HTML elements are included by default.
Use Edit code to add custom HTML5 elements to the page. You can also add them as custom components to the Lib panel.
Adding elements to the page
There are many different ways of adding elements to the page. It is good to know all of them so that you can choose the most effective one in any given situation.
Drag & Drop
Drag the element from the Lib panel and drop it either on the page or to the outline tree. Dropping the element on the page is faster while using the tree gives you more precise control.
A. Dropping the element on the page

B. Dropping the element on the tree
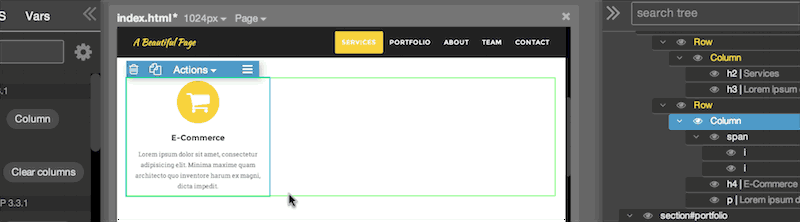
Notice that when the element is added to the page it gets selected with blue border and a menu bar. You can select any element on the page by clicking on it.
The element with the blue border is currently selected.
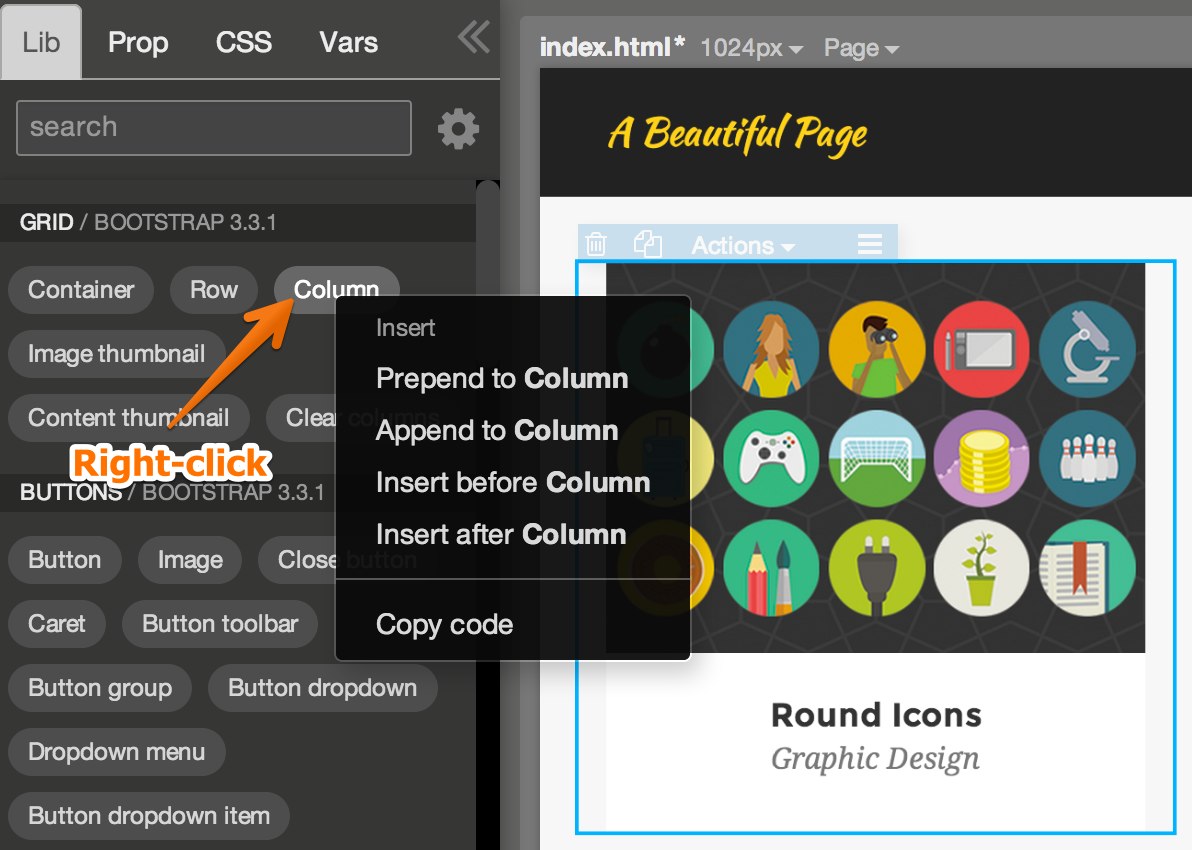
Right-clicking on a Lib panel element
An element must be selected on the page for this to work.
Right-clicking on the element in the Lib panel will show the menu where you can choose how the element will be inserted to the page in relation to the currently selected element. The element can be:
- prepended (inserted at the beginning) to the selected element
- appended (inserted at the end) to the selected element
- inserted before the selected element
- inserted after the selected element
Quick insert link
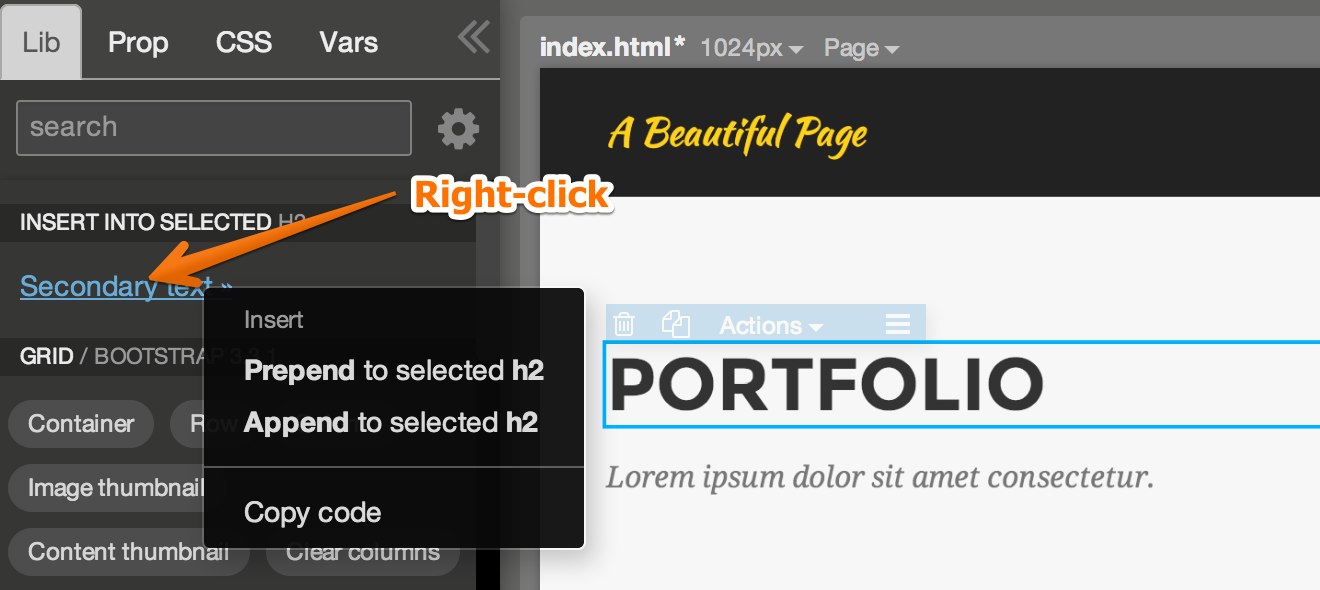
You’ll notice that certain Bootstrap or Foundation elements display quick insert links at the top of the Lib panel when they are selected.
For example, selecting a heading on the Bootstrap page will show a quick link for inserting a Secondary text into the selected heading. Clicking on the quick insert link will append the secondary text to the selected heading.
Right-clicking on the quick insert link lets you append or prepend the element.
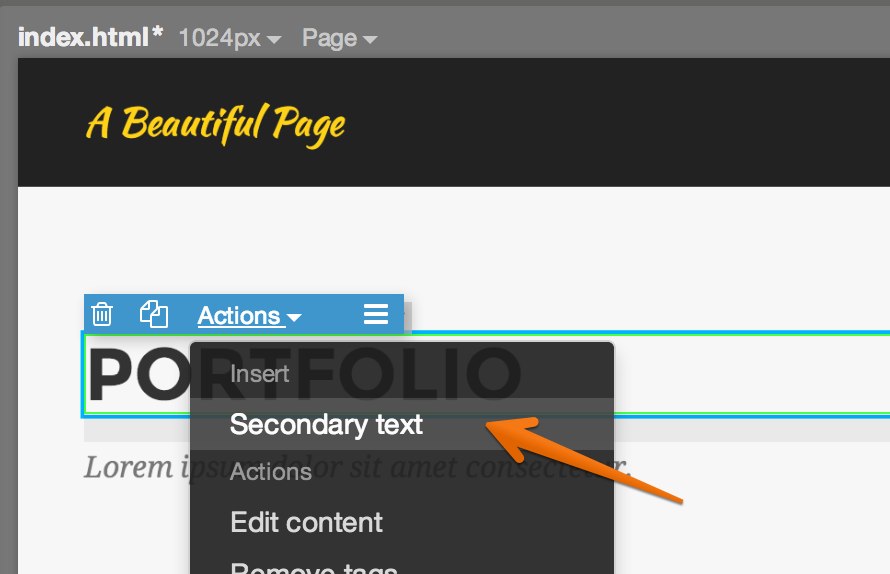
Actions menu
Quick insert links can also be accessed from the Actions menu of the selected element:
Note that quick insert links are not provided for all elements.
Duplicating element on the page
Duplicating existing elements is the quickest way to add similar elements to the page.
Select the element on the page and click on the duplicate icon - or press D - to duplicate the selected element.
Removing elements
Select the element that you wish to remove and click on the delete icon or press the Delete key.
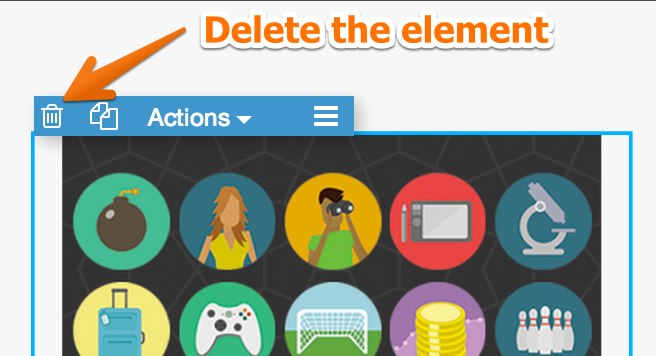
If you make a mistake use Undo and Redo to restore the previous state of the page. Up to 20 undo levels are recorded.
Moving elements
Use the outline tree to move an element to a different position:
Alternatively, click on the element to select it and then drag it by the handle in the blue menu. Holding SHIFT while dragging will clone the element at the new position.
With this method you can also move the element from one page to another. Simply open both pages side by side and drag the element from one page to another:

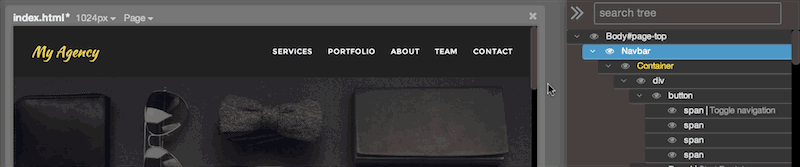
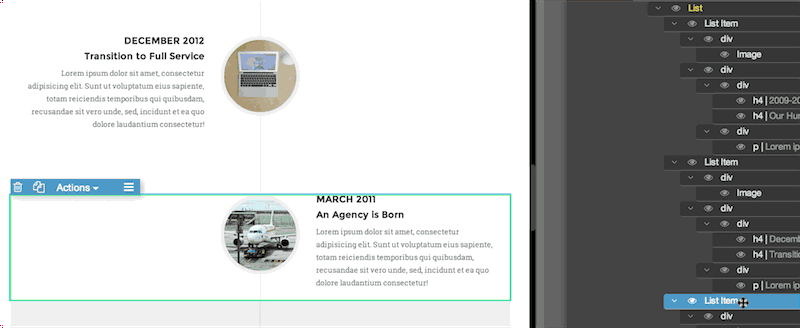
Using the Outline tree
The outline tree is a great tool for selecting, positioning and moving elements.
Page outline can get quite complex. You can simplify it by collapsing elements. In the outline tree click on the small arrow icon on the left side of the tree branch for an element.
All children will become hidden in the tree. Selected element will become yellow to indicate that it is collapsed. If you try to select any of its children on the page, you’ll simply reselect the parent element. It’s much easier to move collapsed elements around in the tree.

When you need to work with its children again, just uncollapse the element - click on the small arrow in the tree branch again or choose Collapse / Uncollapse in selected element’s Actions menu.
The outline tree can also be used to hide elements (for example, if they are obscuring the part of the page that you want to edit). Click on the eye icon to toggle element’s visibility.