The way how custom web fonts are used in the plugin version of Pinegrow differs slightly from how they are used in the desktop version.
There are two approaches:
Using the Design panel
There are no differences when it comes to fonts hosted on Google Fonts, Adobe and other services.
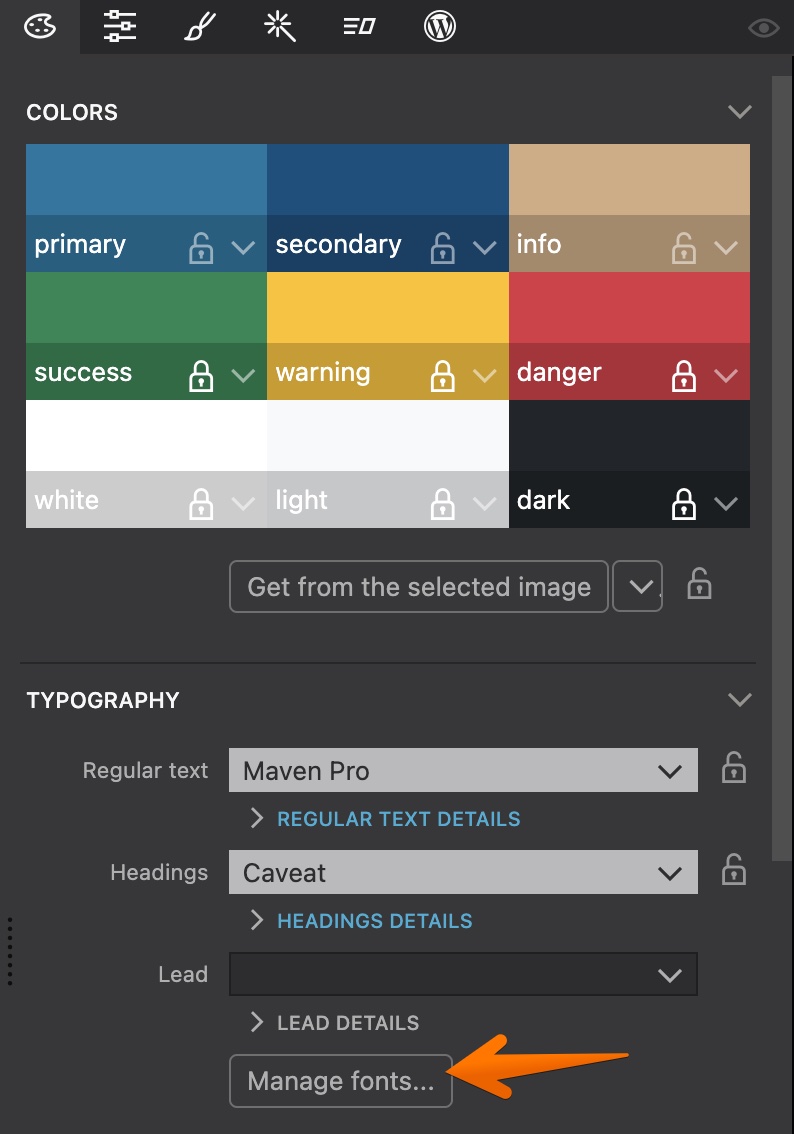
To self-host web fonts, go to Manage fonts in the Design panel:
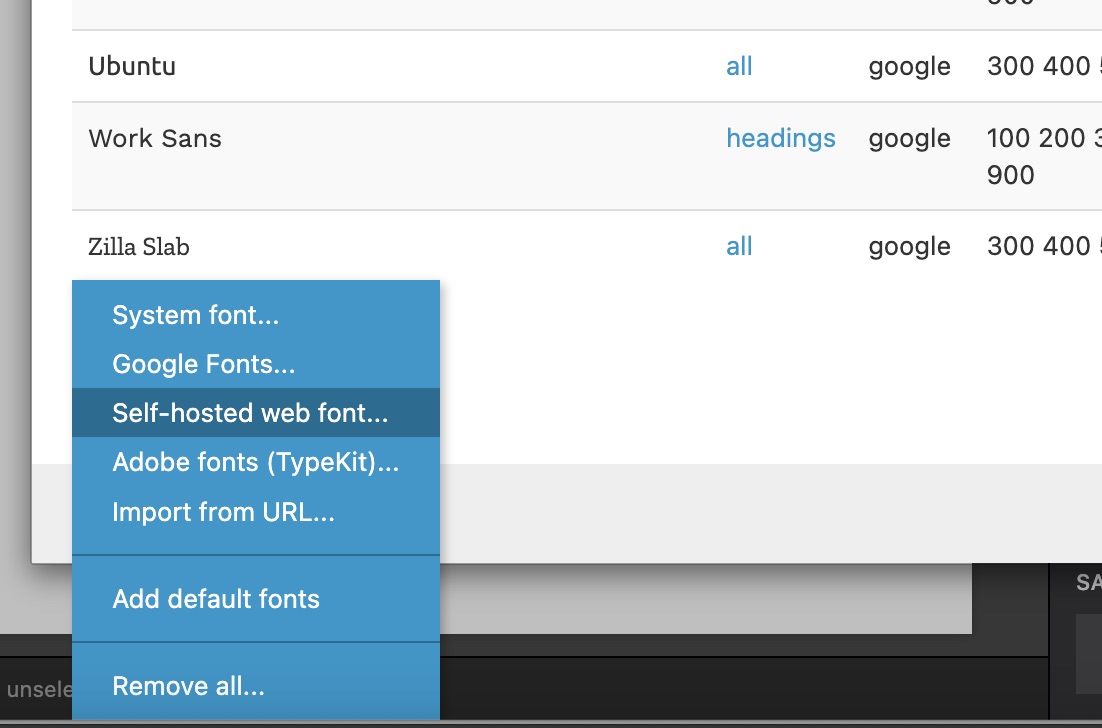
There, at the bottom of the list, click on the Add font button and select Self hosted web font:
Enter the font family name, fallback font families and fill in as many Font variants sections as needed:
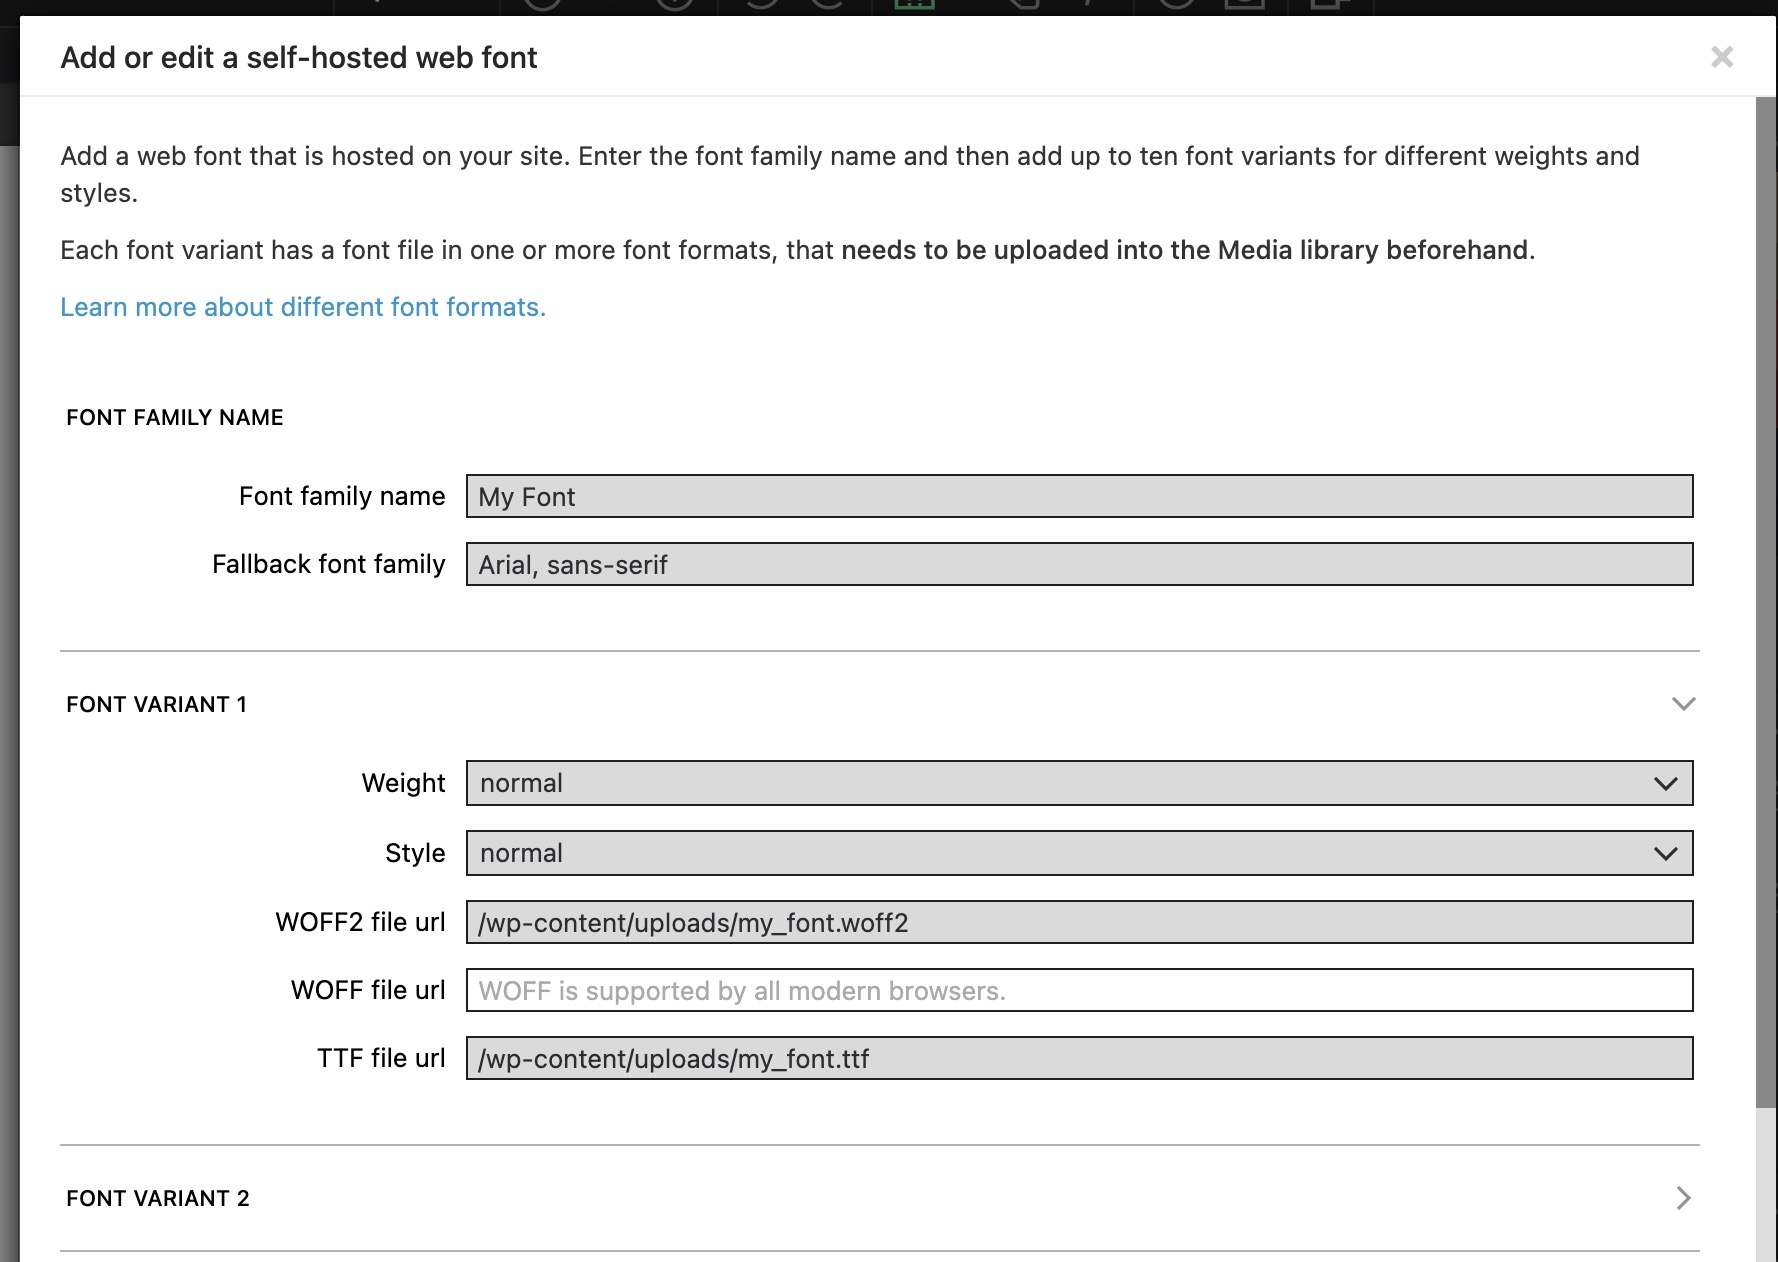
Note, that you will have to separately upload font files to the Media library and then just paste their urls into this dialog. It is recommended to use relative urls.
Using a font management plugin
Alternatively, you can use any of the 3rd party font management plugins for WordPress to manage custom fonts.
We recommend using Yabe Webfont because it integrates with Pinegrow’s visual CSS editor. Custom fonts managed by this plugin can be selected directly in Font family dropdown in Pinegrow. Pinegrow integration is included in the free version of the plugin.
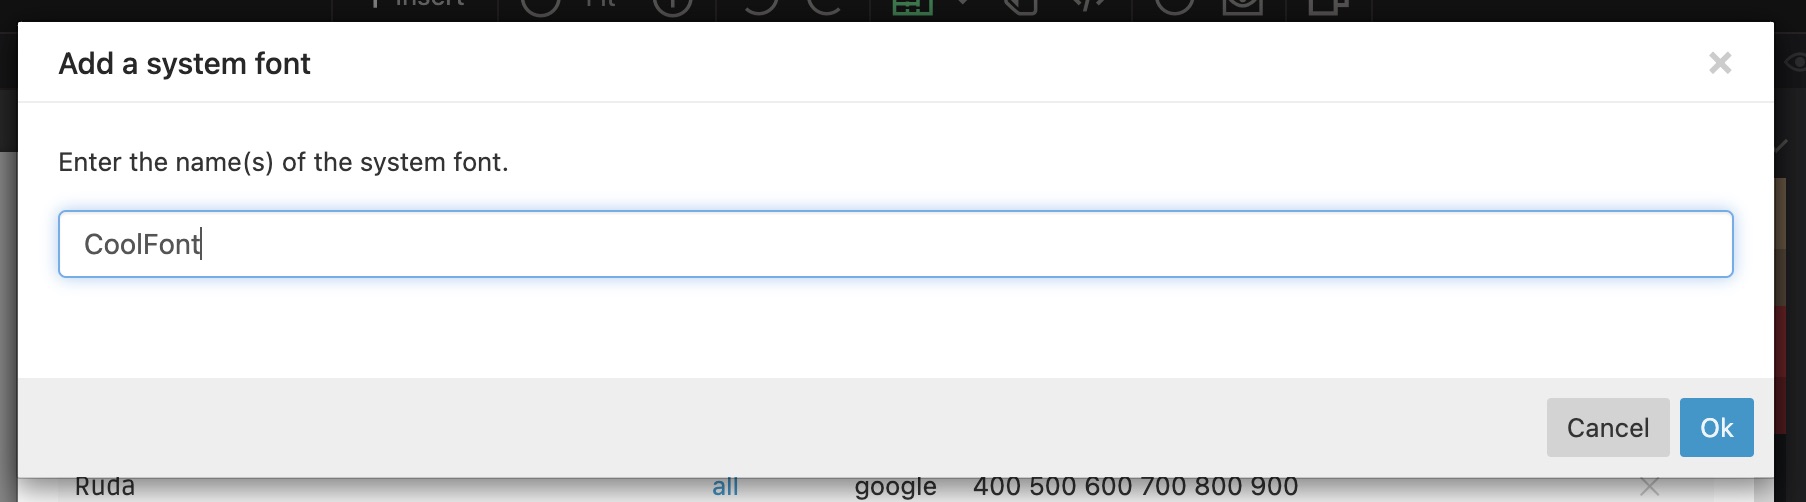
A hint: If you want to show fonts managed by 3rd party plugins in the Design panel, just enter their family names in Manage fonts -> Add font -> System font and then include them in the current design. These fonts will also be shown in the visual CSS editor.