Form action adds form processing to the enclosed HTML form.
Imagine we have a nice HTML form on our contact page and we want to store and email form submissions through WordPress.
Normally, that would mean going through a bunch of WordPress form plugins and struggling with recreating our form in their form builders. At the end, the result will never match our source HTML form because all these plugins enforce their own styling and HTML structure.
Wouldn’t it be nice to be able to keep our HTML form as it is and just add submission processing?
That’s exactly what the Form smart action does.
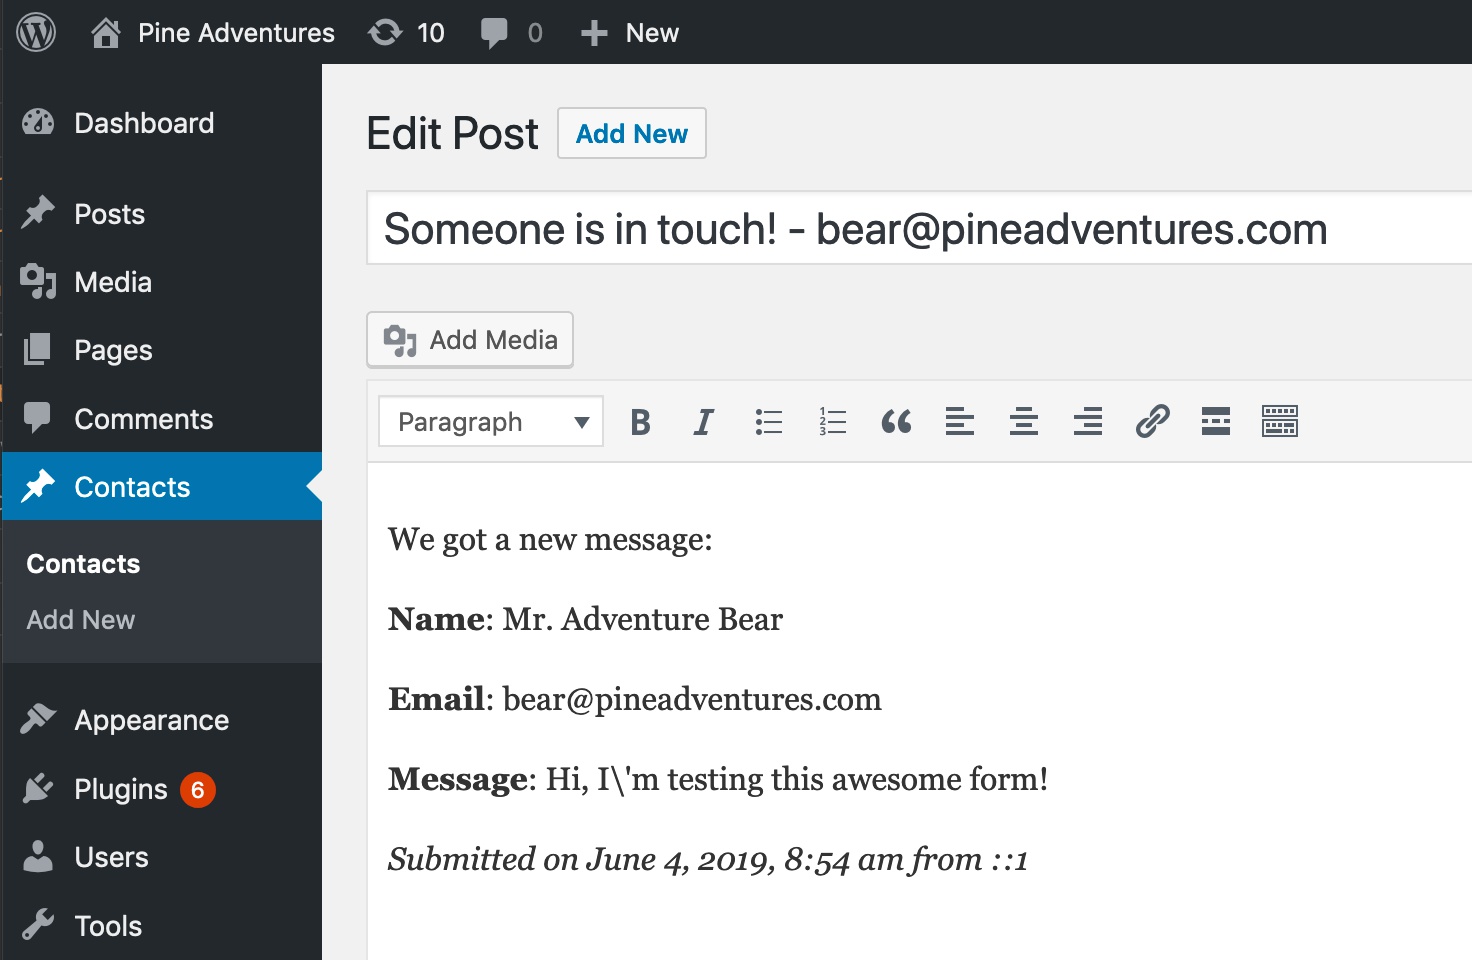
It lets us send submissions with email and also store them as private custom post type posts viewable through the WordPress admin panel.
We can tell it which element to show when the form is successfully submitted and which element to show when it fails.
It does all of this without using any WordPress plugins.
Here’s how it works:
Add the Form action on the element that contains the <form> and any supporting elements, like elements that are shown in case of successful submission or failure.
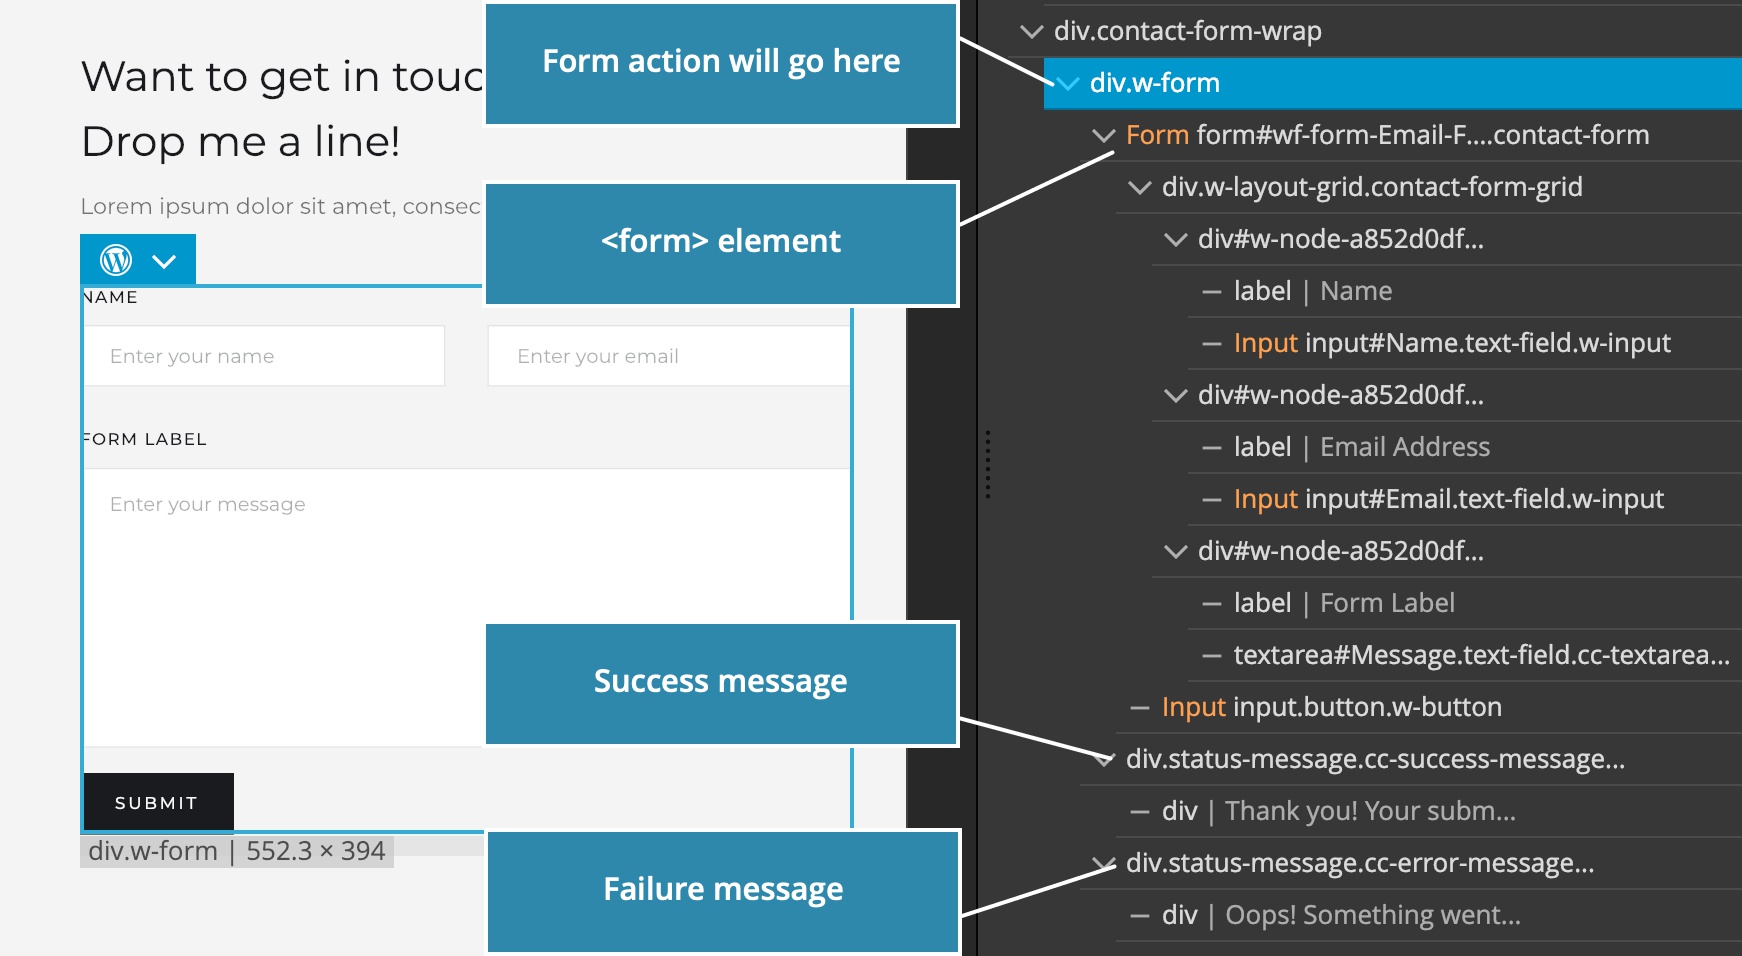
Of course, we can also just add it to the <form> element directly, if we don’t have any form-related elements outside of the <form> element.
Form settings
Next, we have to tell the Form action what to do with our form:
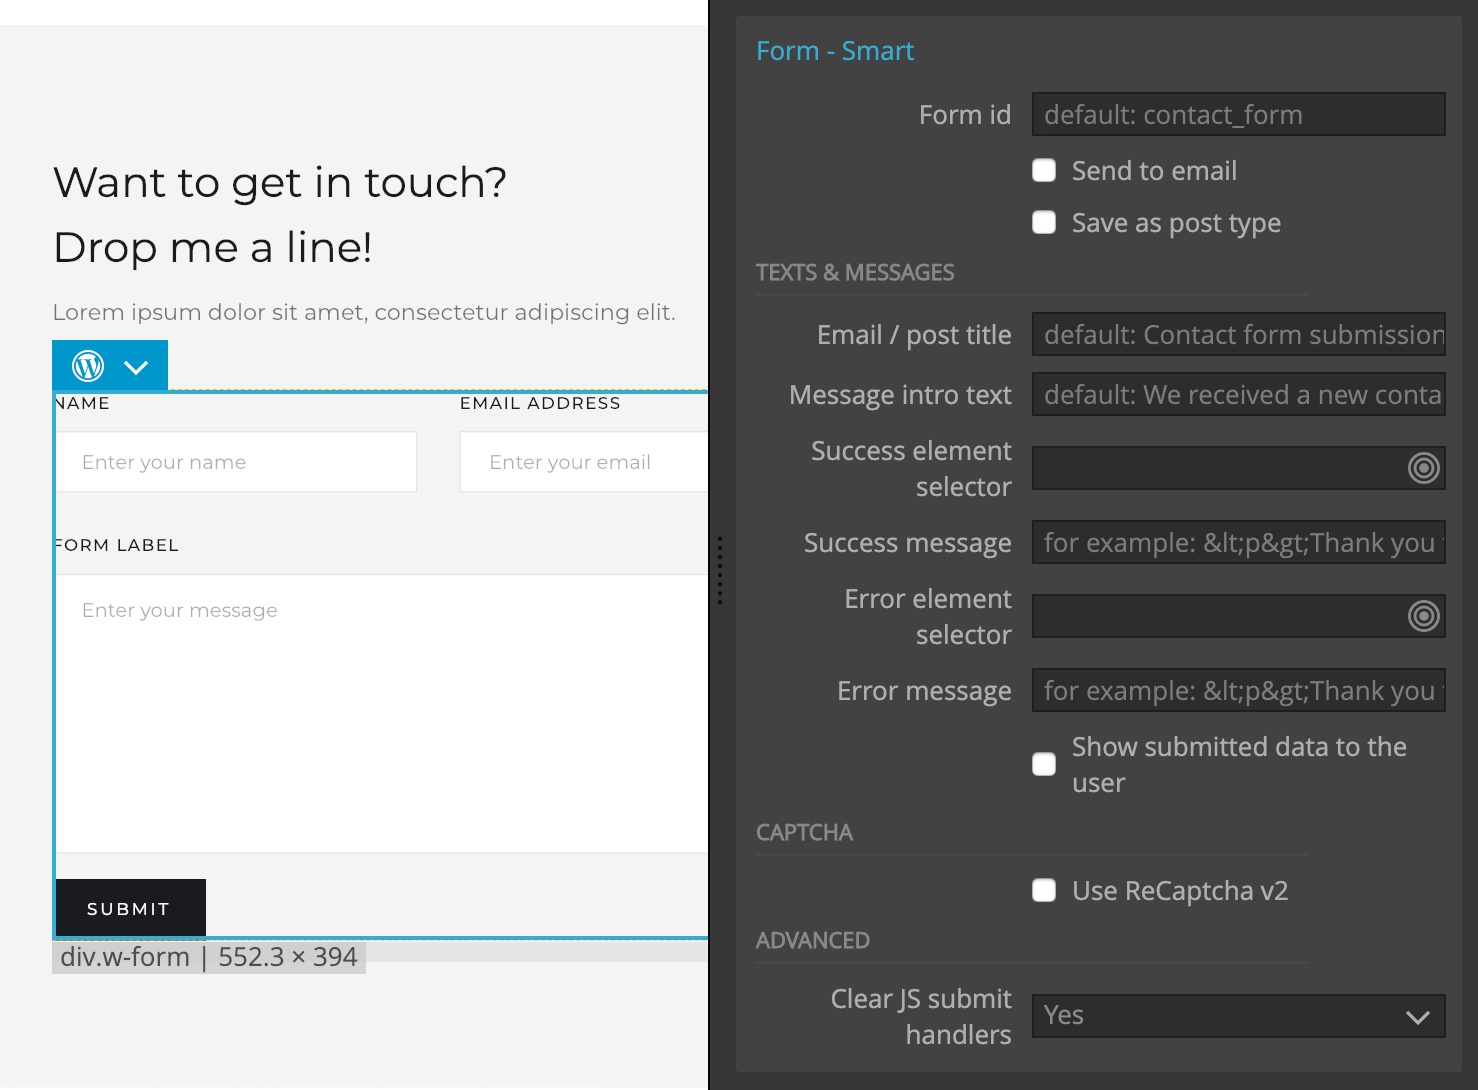
Form id
First, we need to give the form a unique id that will be used to process the form under the hood. “Contact_form” is used by default. No need to set a different id if this is the only form on the page.
Send submissions to email
Check “Send to email” to have submitted form information sent by email.
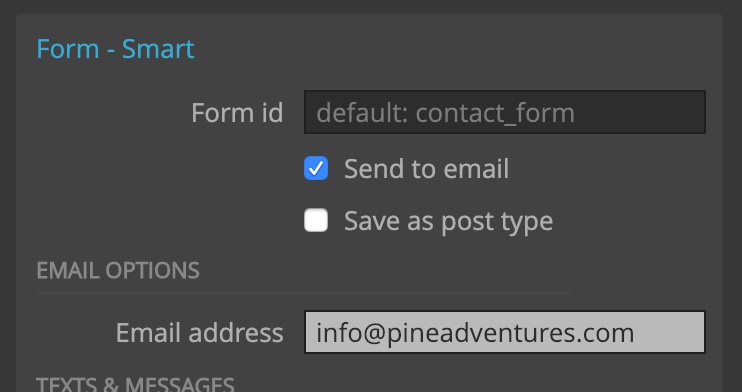
In Email options, enter the email address if it is different from the site admin email address.
Built-in WordPress function wp_mail will be used to email the form information. That might not work, depending on the server configuration – and especially on local WordPress installs. In such cases we can add “WP Mail SMTP” WordPress plugin that lets us configure a mail account for sending email.
Note, no email is sent to the user who is submitting the form.
Save submission as post
Submitted information can also be stored directly to WordPress database, either as a backup in case of email problems or as the only method of storing the information.
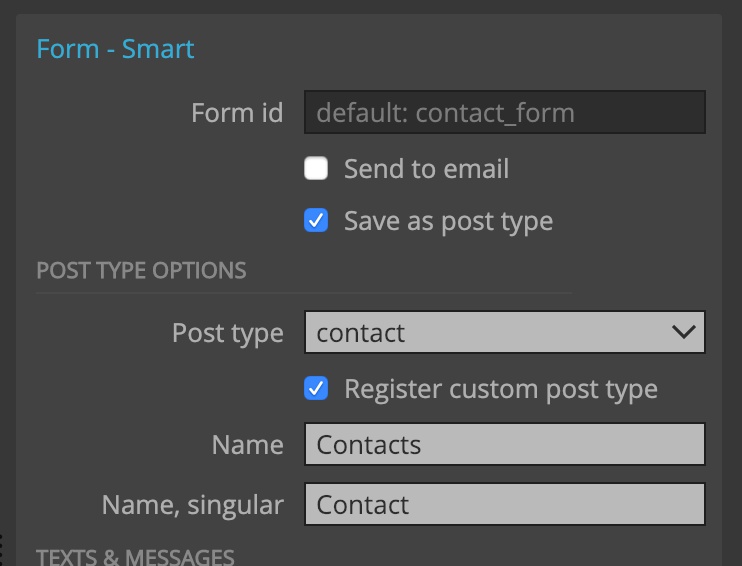
Selecting this option will save each submission as a private custom type post that can be viewed through WordPress admin panel.
Post Type options let us select a custom post type for submissions and optionally register a new post type.
Such posts are not publicly accessible – they are saved as private.
Texts & Messages
Next, we get the opportunity to customize texts used in emails and saved posts as well as texts or elements that are shown after the form has been processed.
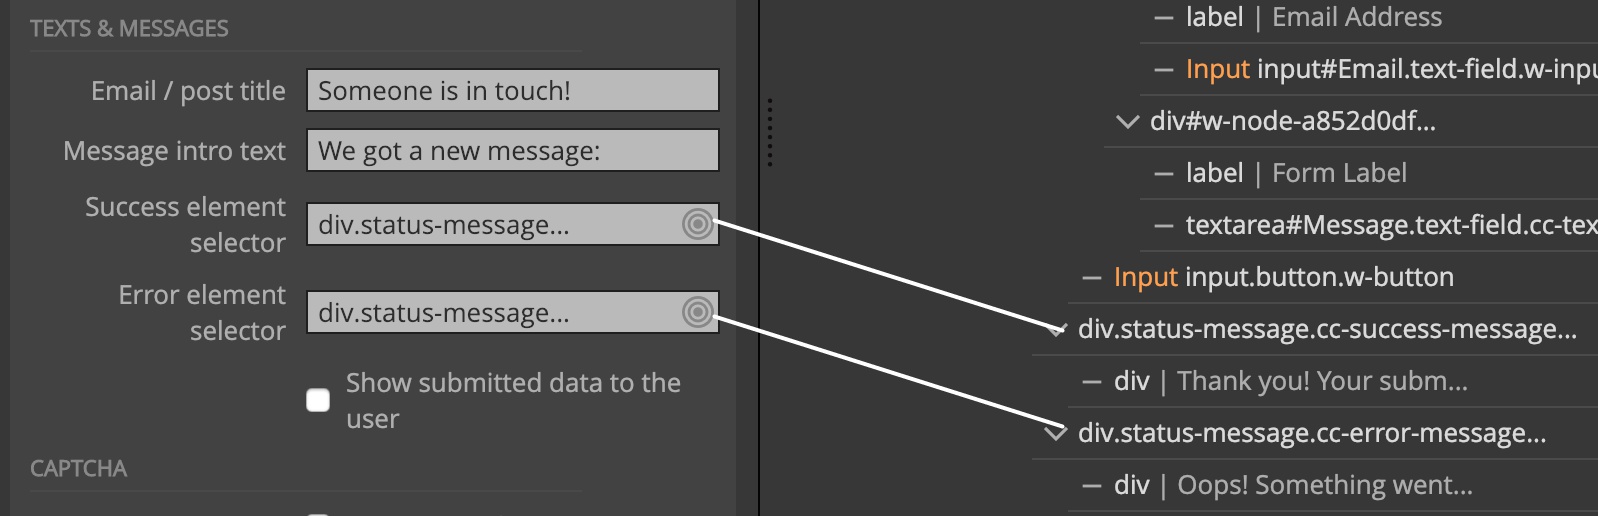
Email / post title is used for email subject and saved post titles.
Message intro text is displayed at the beginning of the email or saved post.
Success element selector selects the element that is used when the form is submitted successfully. Note that we are responsible for styling this element.
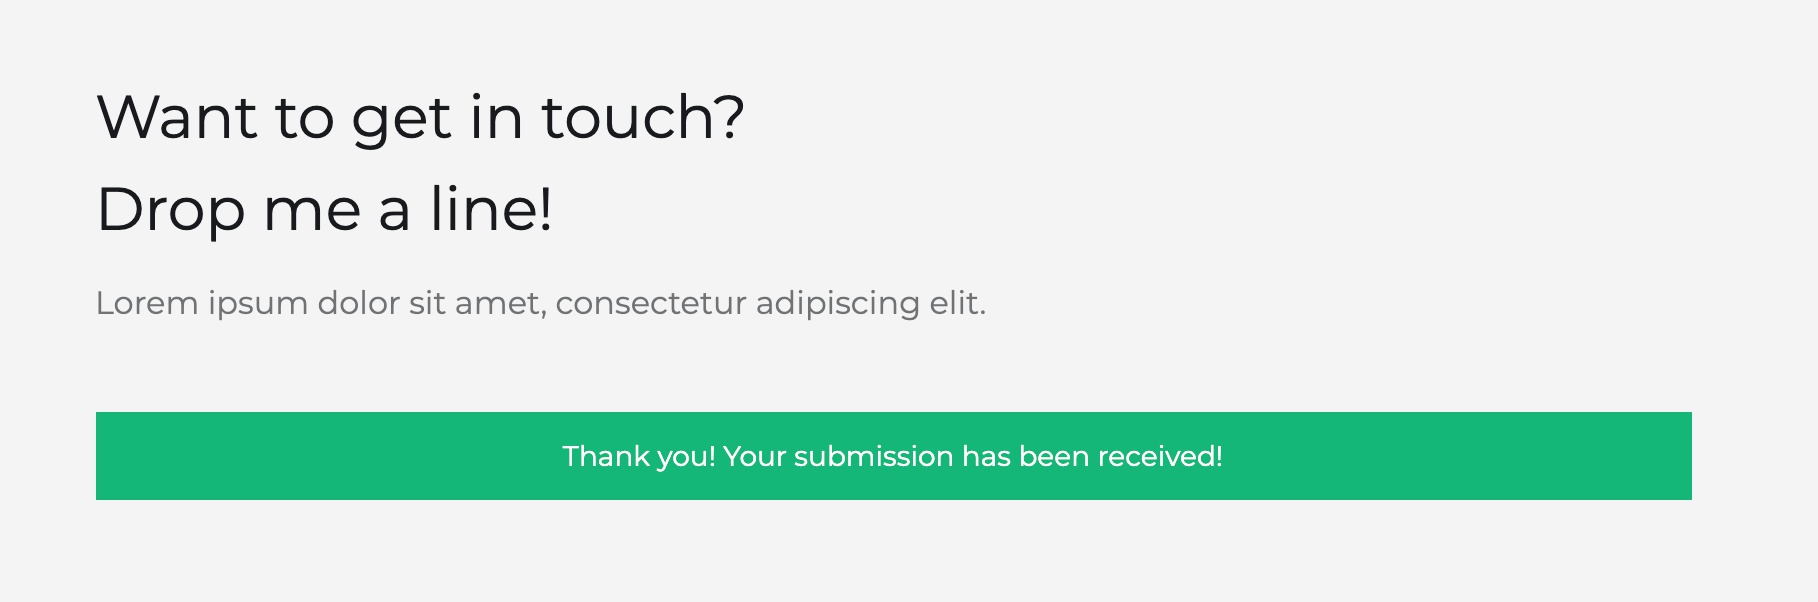
If that is not set, the text in Success message is displayed.
Error message selector points to the element that is shown in case of failures. Note that we are responsible for styling this element.
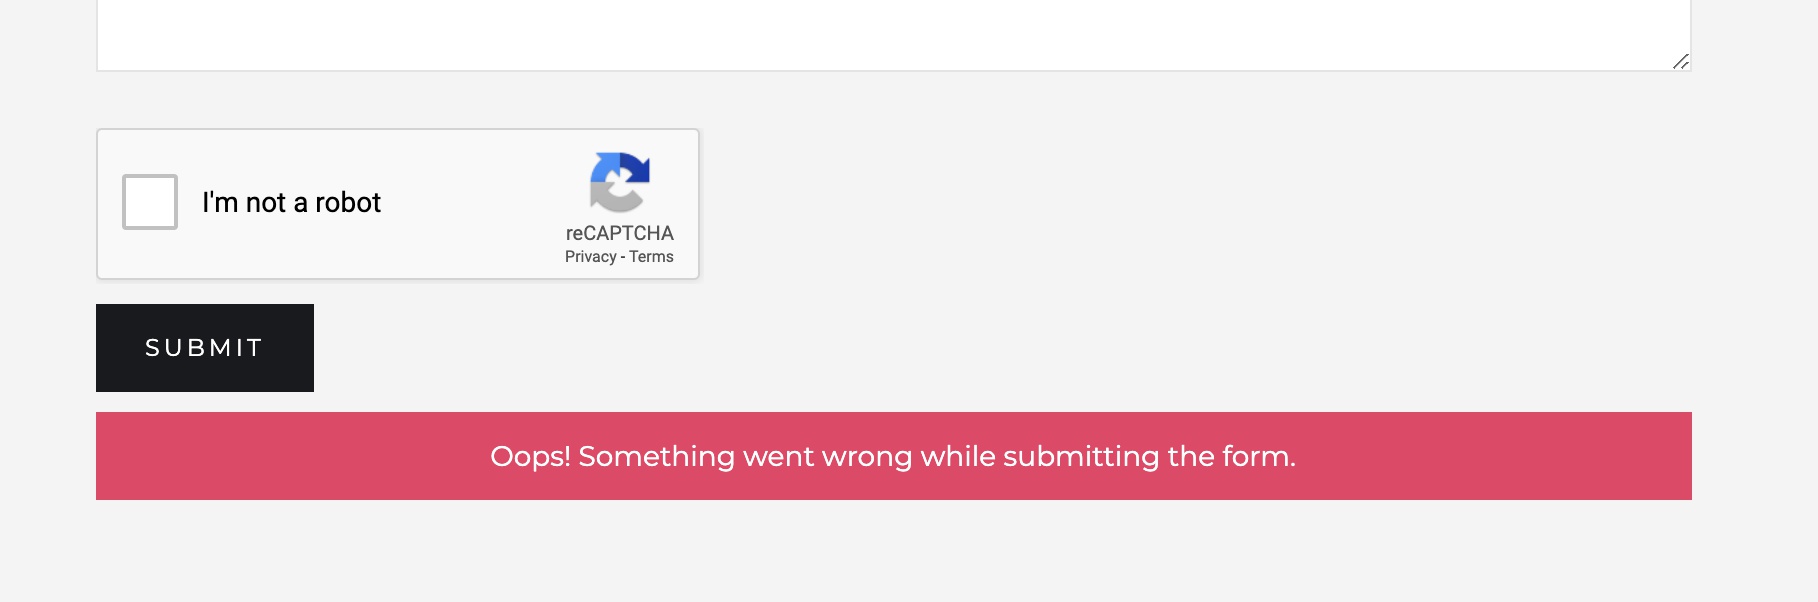
Error message text is used if error element is not set.
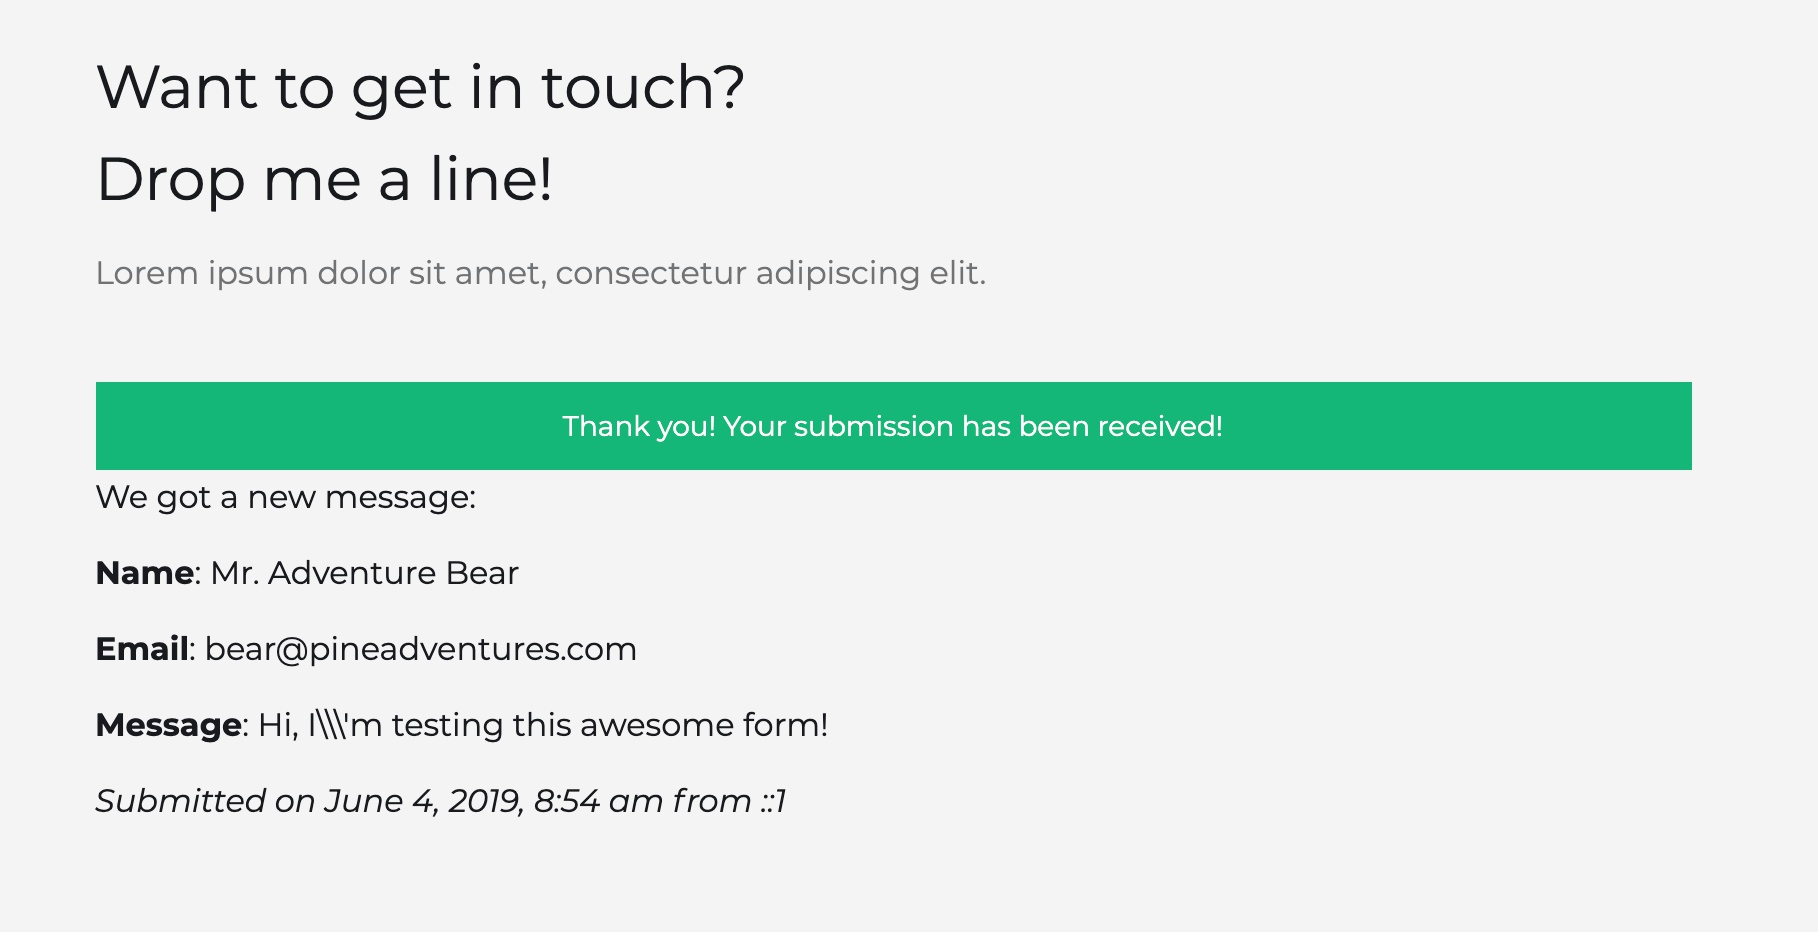
Checking “Show submitted data to the user” will show the submitted information after the form is successfully processed.
Using Captcha
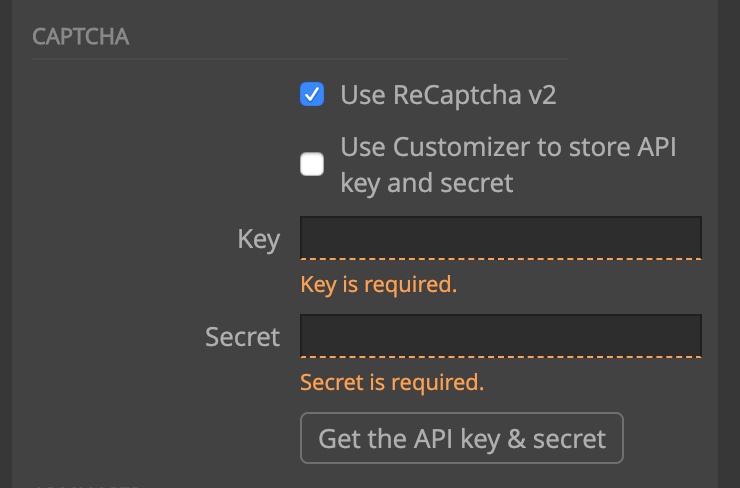
Check “Use ReCaptcha v2” to add the reCaptcha check to the form. The control is shown in an element with the class “g-recaptcha”. If that element doesn’t exist in the form it will be inserted right before the submit button.
Click on the “Get the API key & secret” to go to the Google page for registering a reCaptcha form. Make sure to select the version 2.
We have two ways of storing the reCaptcha key and secret:
Storing reCaptcha API key and secret
They can be hard-coded in the theme by entering into them into Key and Secret fields. That’s not the recommended approach.
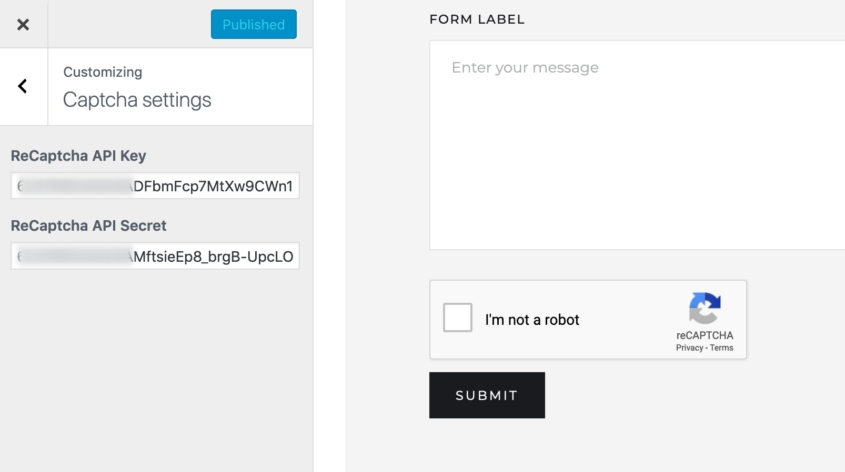
Alternatively, check the “Use Customizer to store API key and secret” in fields in Captcha settings Customizer section.
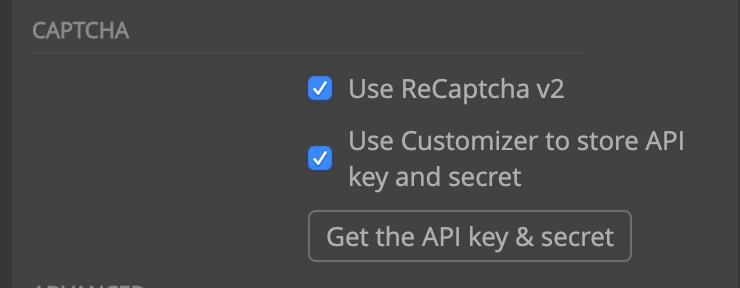
That means that every user of the theme can enter their own key and secret.
Note, it would be better to store API key and secret in WordPress settings. We might do that in the future, for now the recommended approach is to use the customizer.
Advanced
Clear JS submit handlers
Some websites come with custom Javascript code that handles the form submissions. That prevents the form to be processed by WordPress. Checking this option will try to remove such handlers from the form.

Call function
In Pinegrow PRO you can add the name of a function to call when the form is submitted successfully. Data is passed as the first argument, stored in the array. Form options array is passed in the second argument. The functions should return true on success and false on failure.
For example, set the Call function to process_my_form if the function is defines as:
function process_my_form($data, $options) {
    //do some cool things with the submitted data
    return true; //all good
}
Note, the Call function can not be used to redirect the user to a different page because at the time the function is called, HTTP headers have already been sent.
Customizing the email message
Use the WordPress filter pg_form_email to customize the email message and title. Inspect the inc/wp_simple_form_mailer.php to see how it works and what kind of data it gets.
A note about input field names
Note, some input field names are reserved by WordPress. Such fields will be renamed by appending the “_field” suffix to their names.